Reolink Argus 3 Pro Unboxing, Setup, and a Quick Review
Here’s an interesting concept - a blog post for an unboxing.
We’ve got some chickens in the backyard, and we wanted to keep an eye on them from the comfort of our sofa. So I did what any techy person would do. I bought a wireless camera. A Reolink Argus 3 Pro with a solar panel, to be exact.
Before I continue, I’d just like to point out that I’m not being paid for this article. I bought the camera with my own money, but did buy it at a discount from Amazon. I paid A$119 for the camera and solar panel kit.
Why-Fi?
Why wireless? I’m glad you asked!
There’s a very high risk of lightning strikes during storm season here, and I didn’t fancy frying all our network-connected devices when that inevitably occurs.
I’m well aware of the pros and cons of wired vs wireless cameras. I’ve owned only wired PoE cameras (also Reolink) in the past, but they were all mounted within a metre of the house. Unfortunately this time, we needed a camera about 20m away from the property, and I didn’t want to dig a trench for bonded conduit.
So instead, I went with a solar-powered WiFi camera which will hook up nicely to my Ruckus wireless setup (which you can read about here).
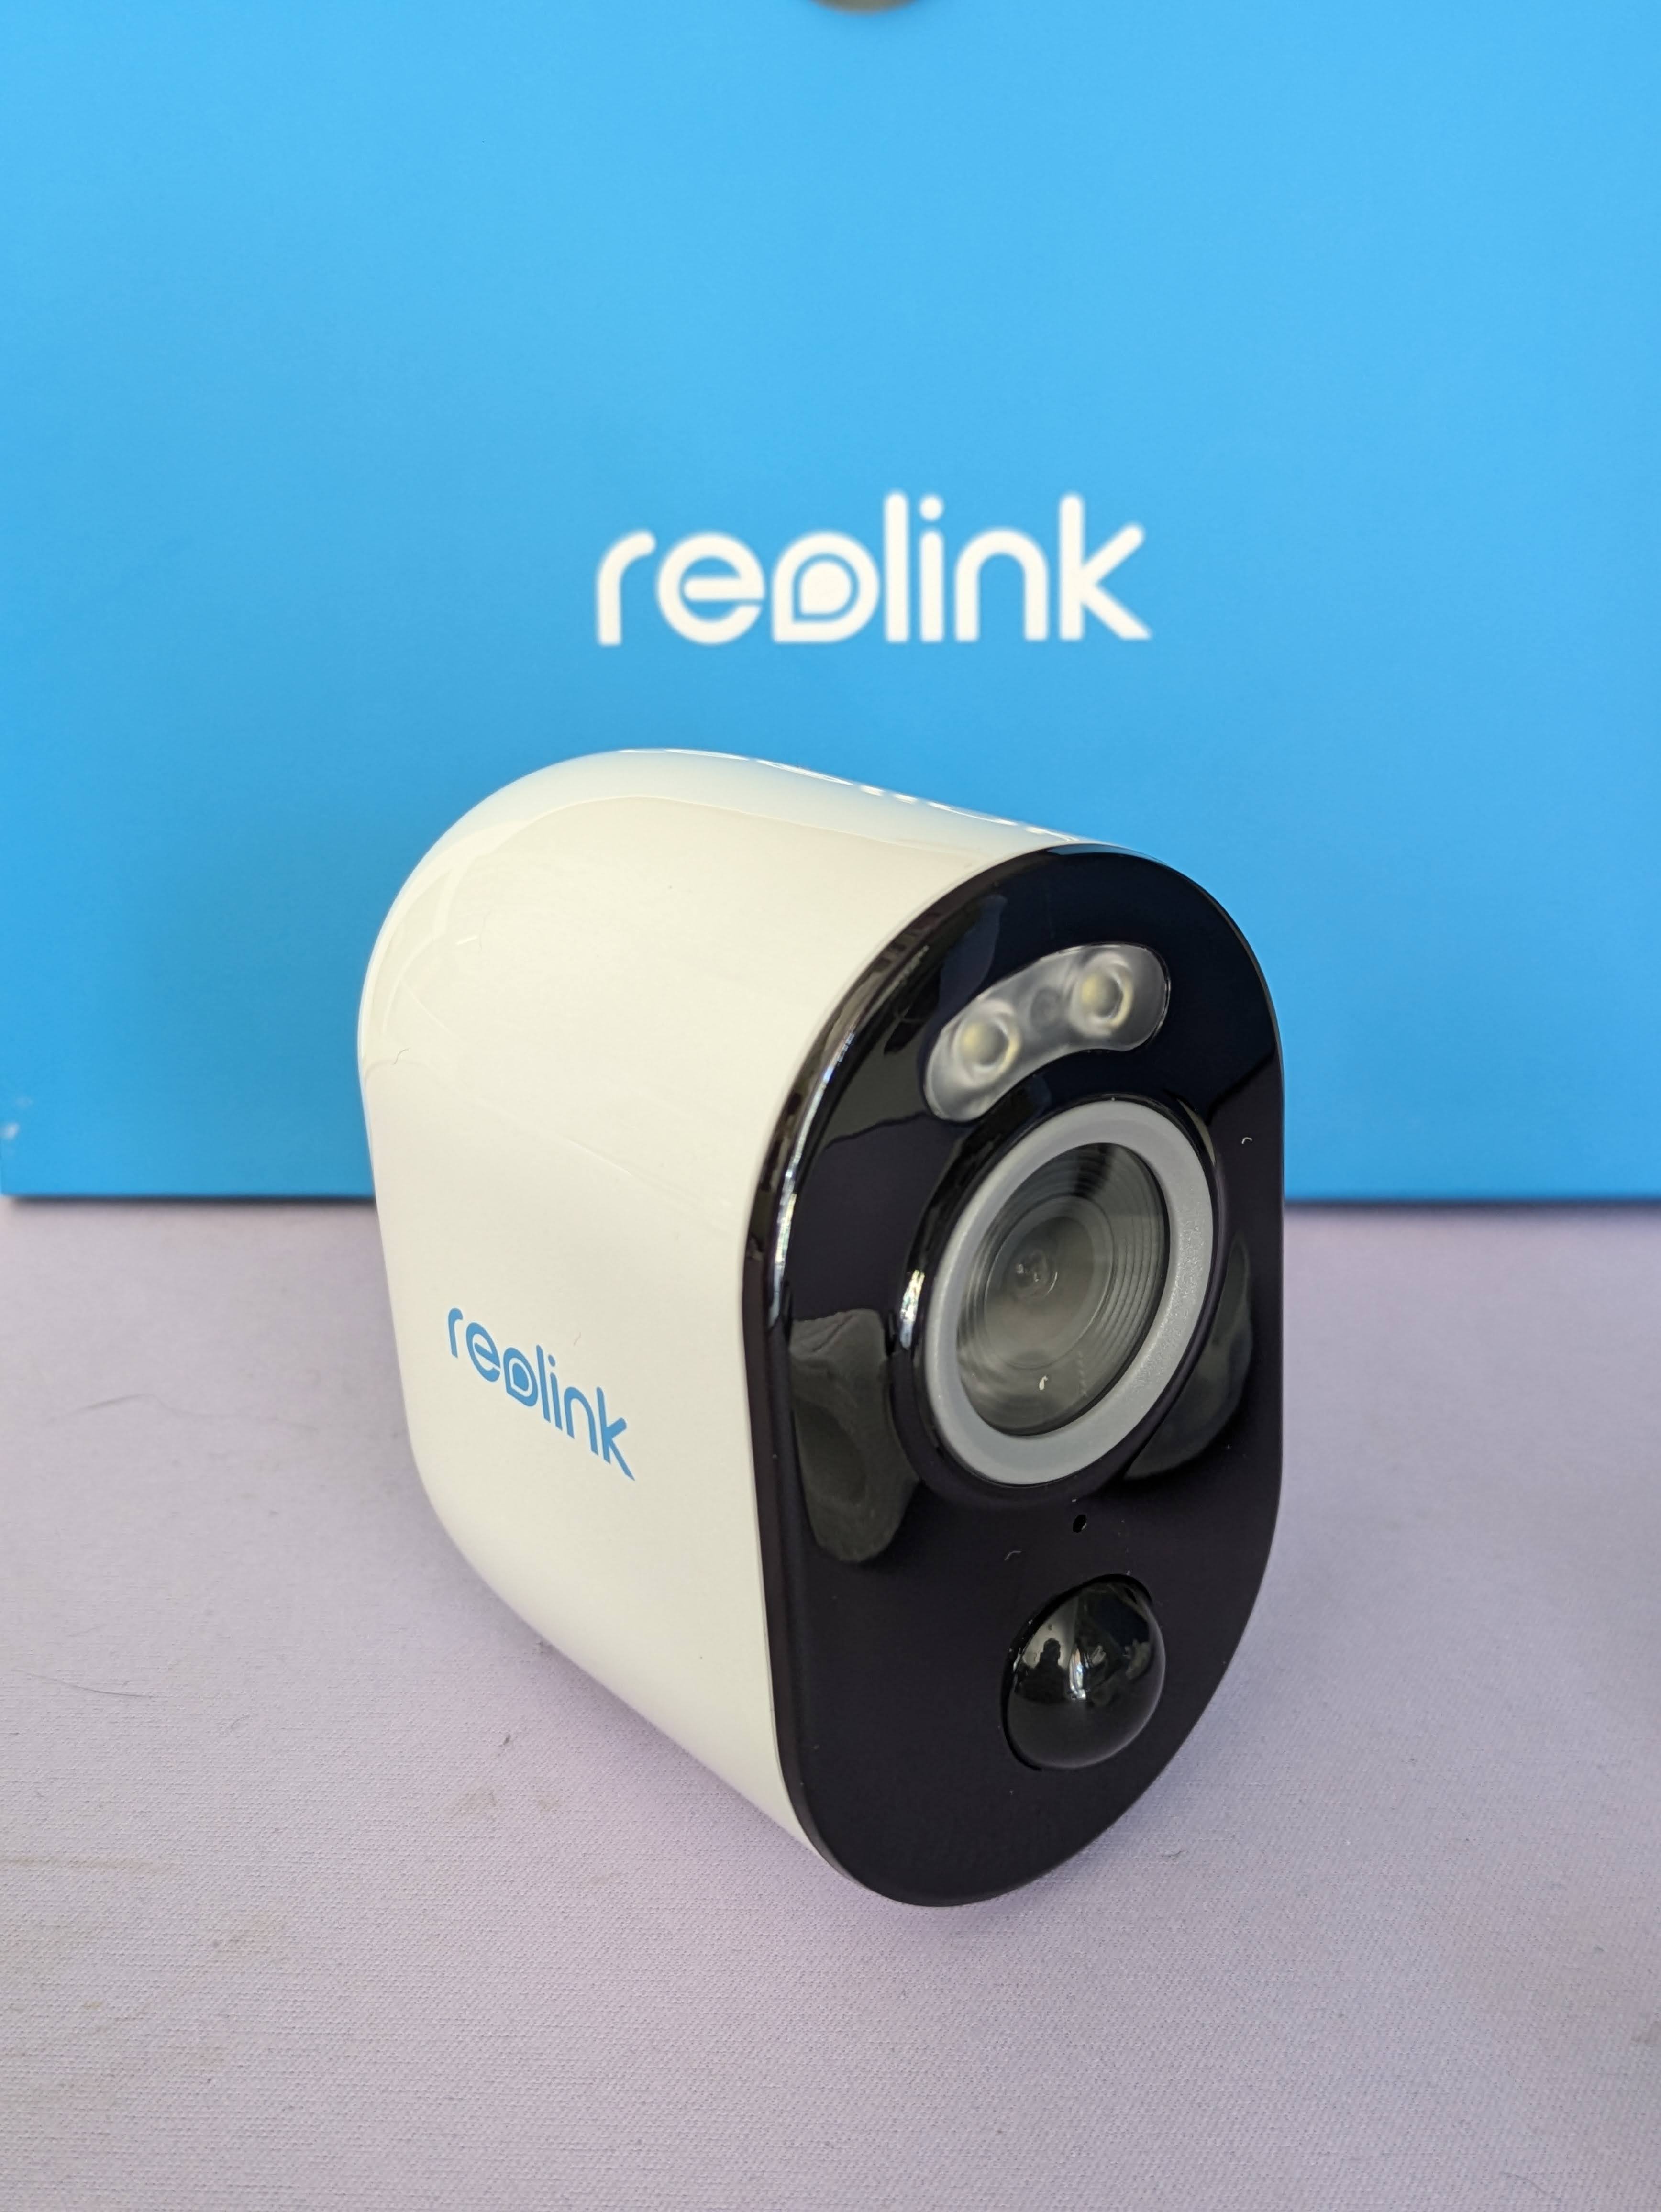
Reolink Argus 3 Pro
The camera itself comes in a pretty small package, with an adjustable mount that can either be screwed to a surface or strapped to a tree, fence post, etc.
It’s a 5MP camera that streams in “2K+ resolution” (the actual resolution is 2880x1616 at 15FPS for “Clear” resolution, and 896x512 at 15FPS for “Fluent”). It connects to 2.4GHz or 5GHz WiFi. Why you’d use 5GHz, I’ve got no idea, as it’s not exactly a data-hungry device and you’ll get much better range on 2.4GHz, but it’s nice to have the option I guess.
The solar panel is the same deal, except its mount sticks out a bit more. You can see these in the photos on the Reolink website.
It does seem like there was a design change at some point, as the USB-C connector is on the base of the camera, and not on the back as pictured on the website. In my opinion, that’s a better design as it means water can drip off the cable loop at the bottom rather than potentially get stuck on the connector and weep in.
Unboxing the Argus 3 Pro
Now that I’ve justified my reasons for getting a wireless camera and introduced you to the unit, let’s have a look at it.
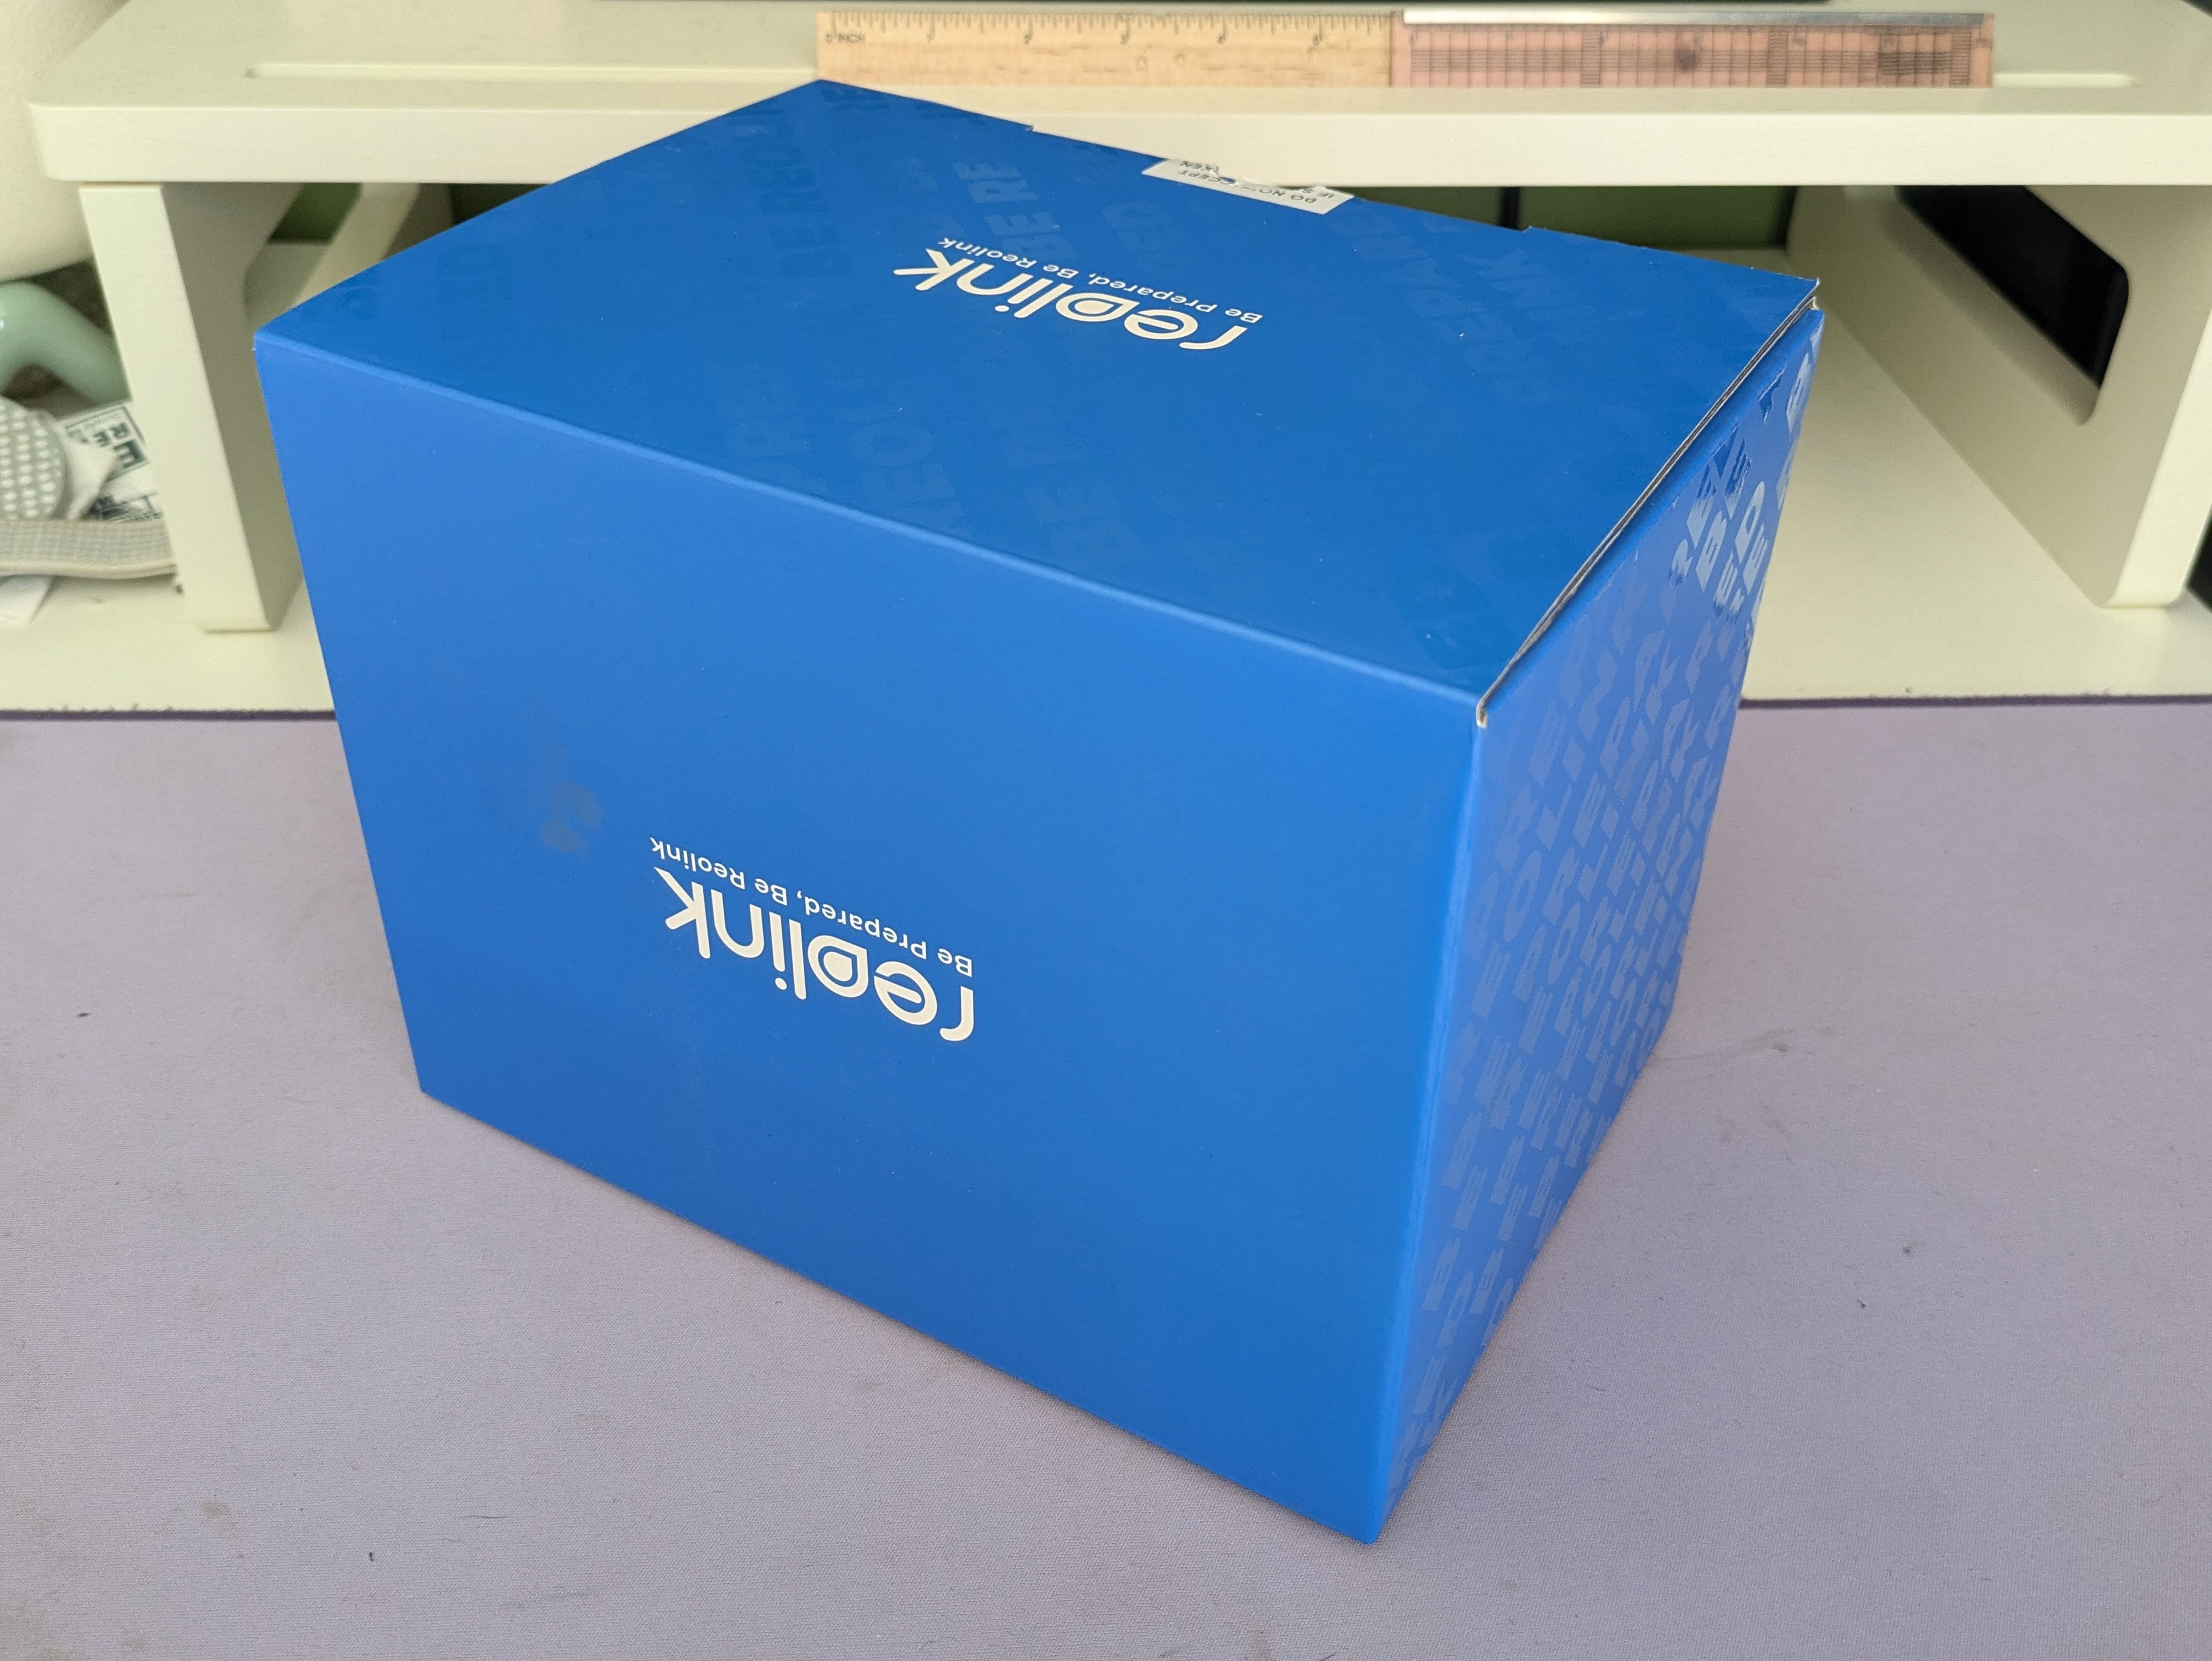
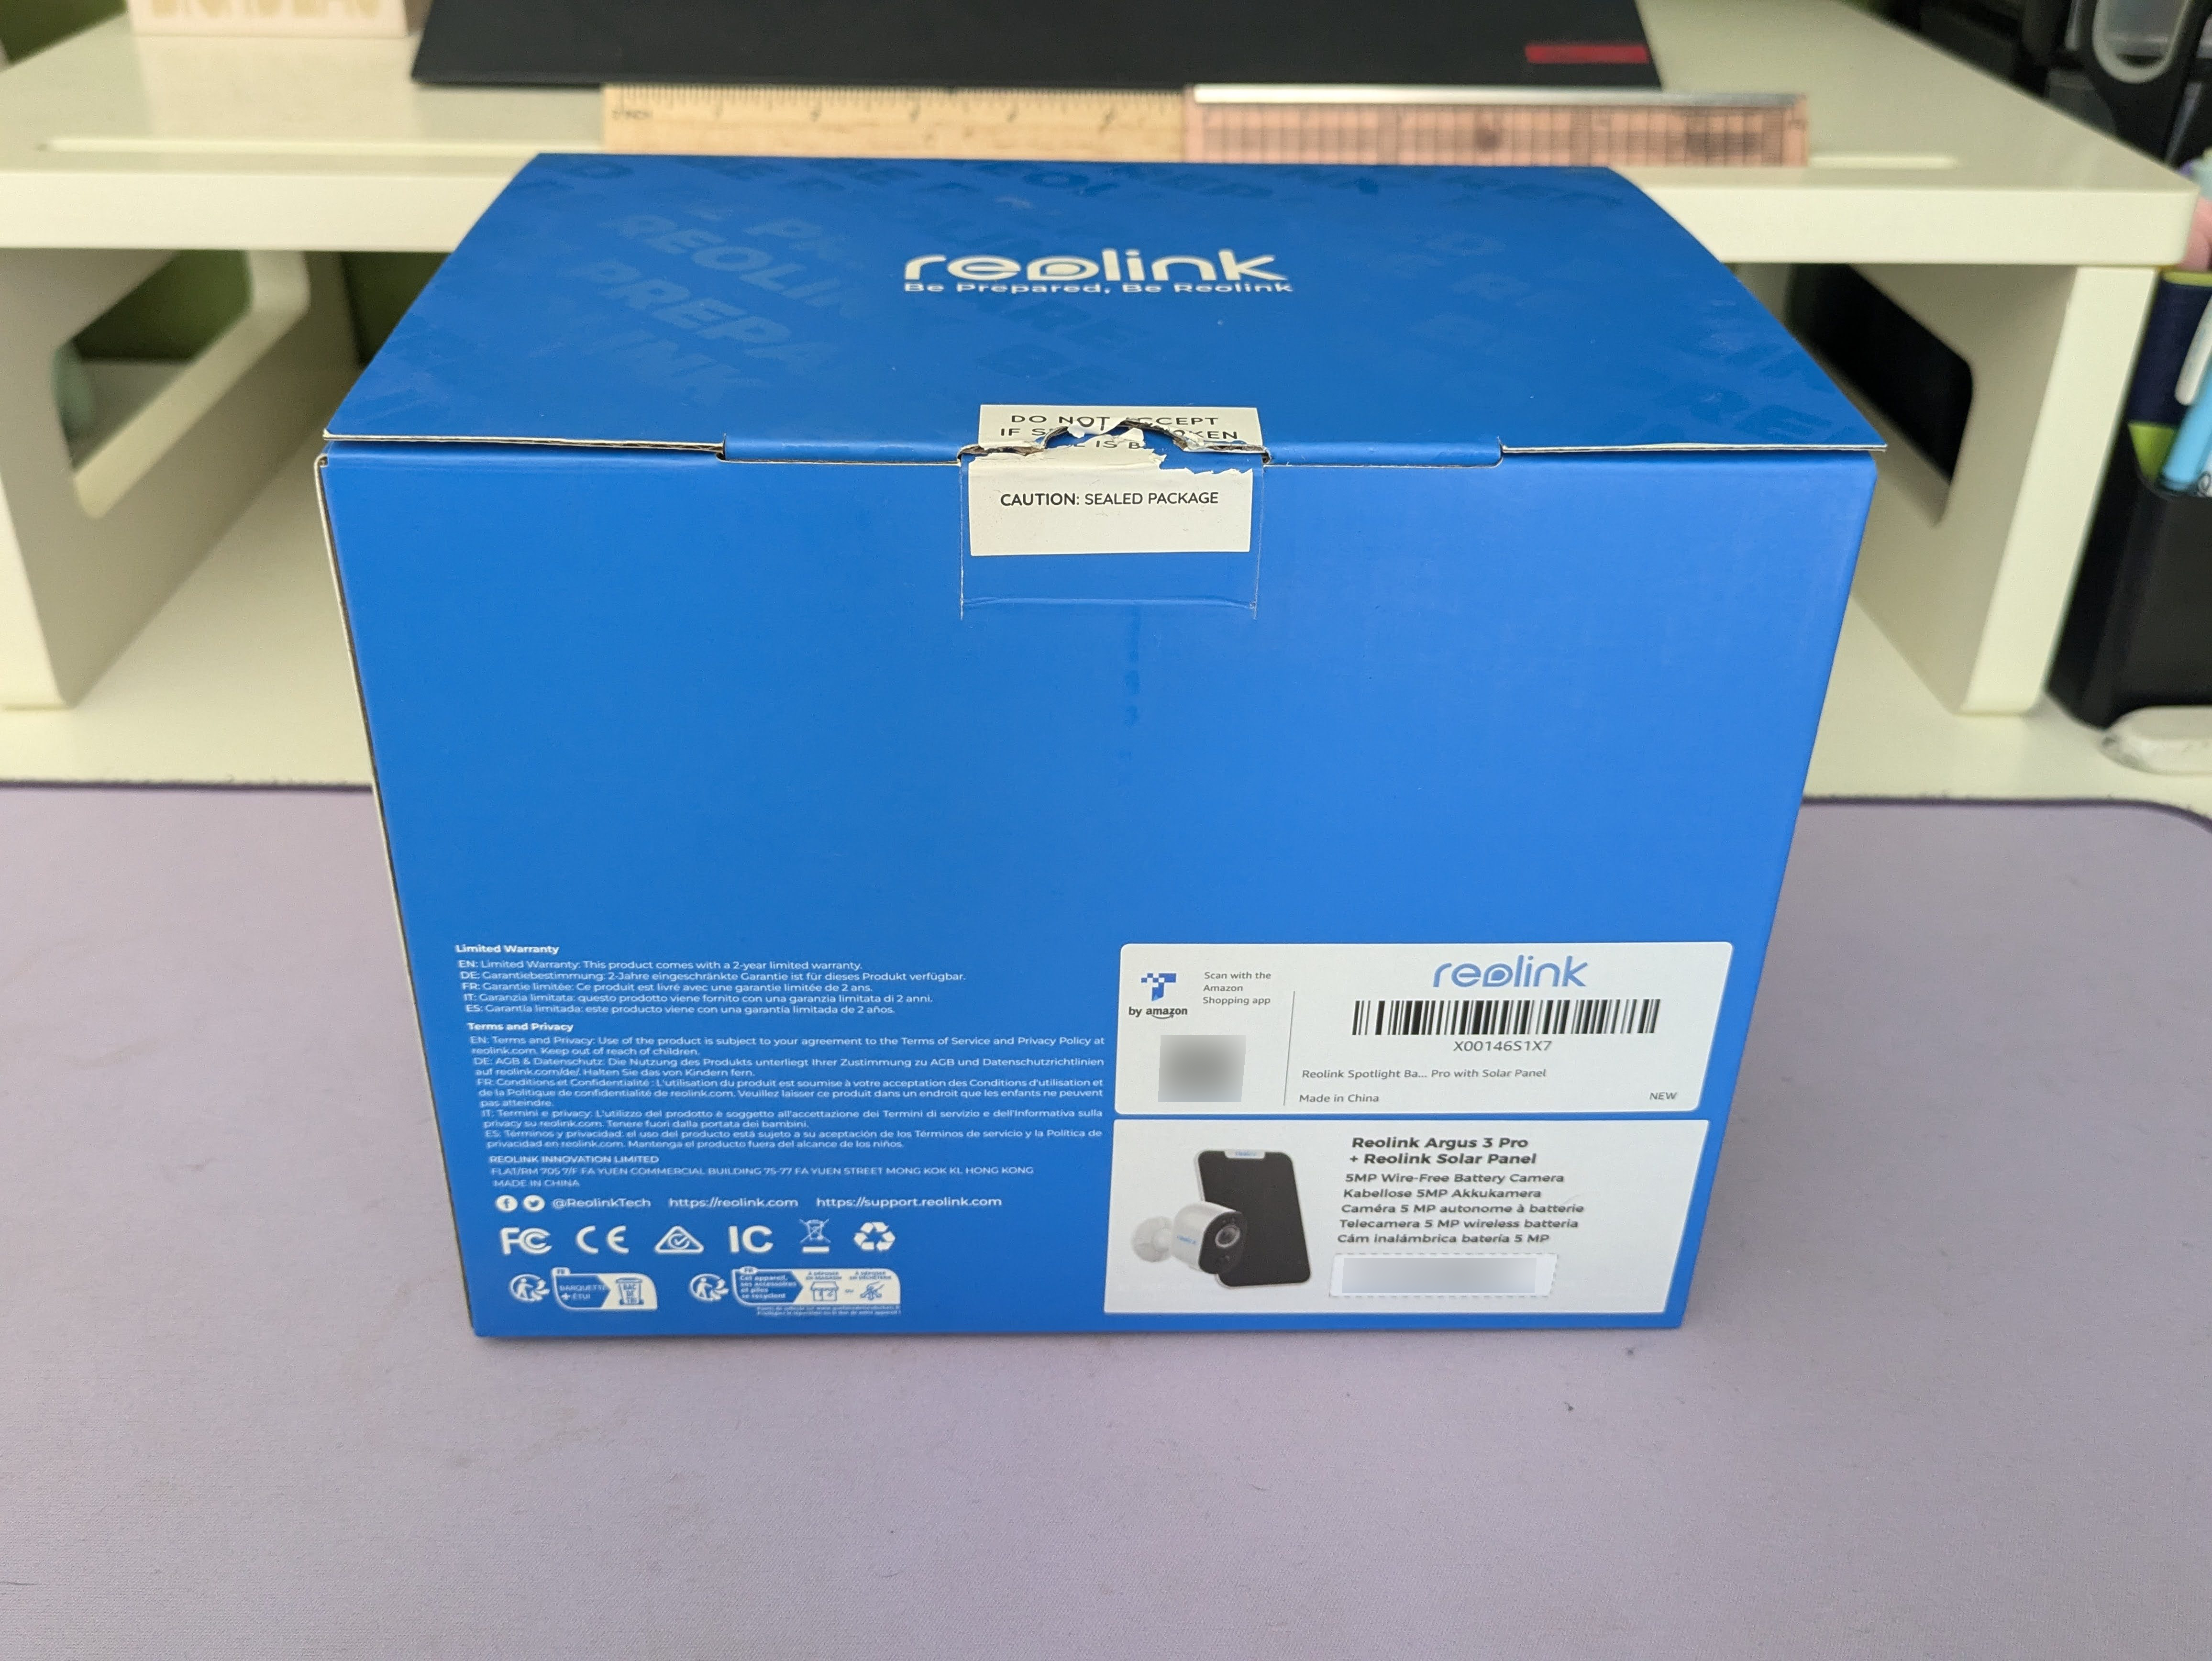
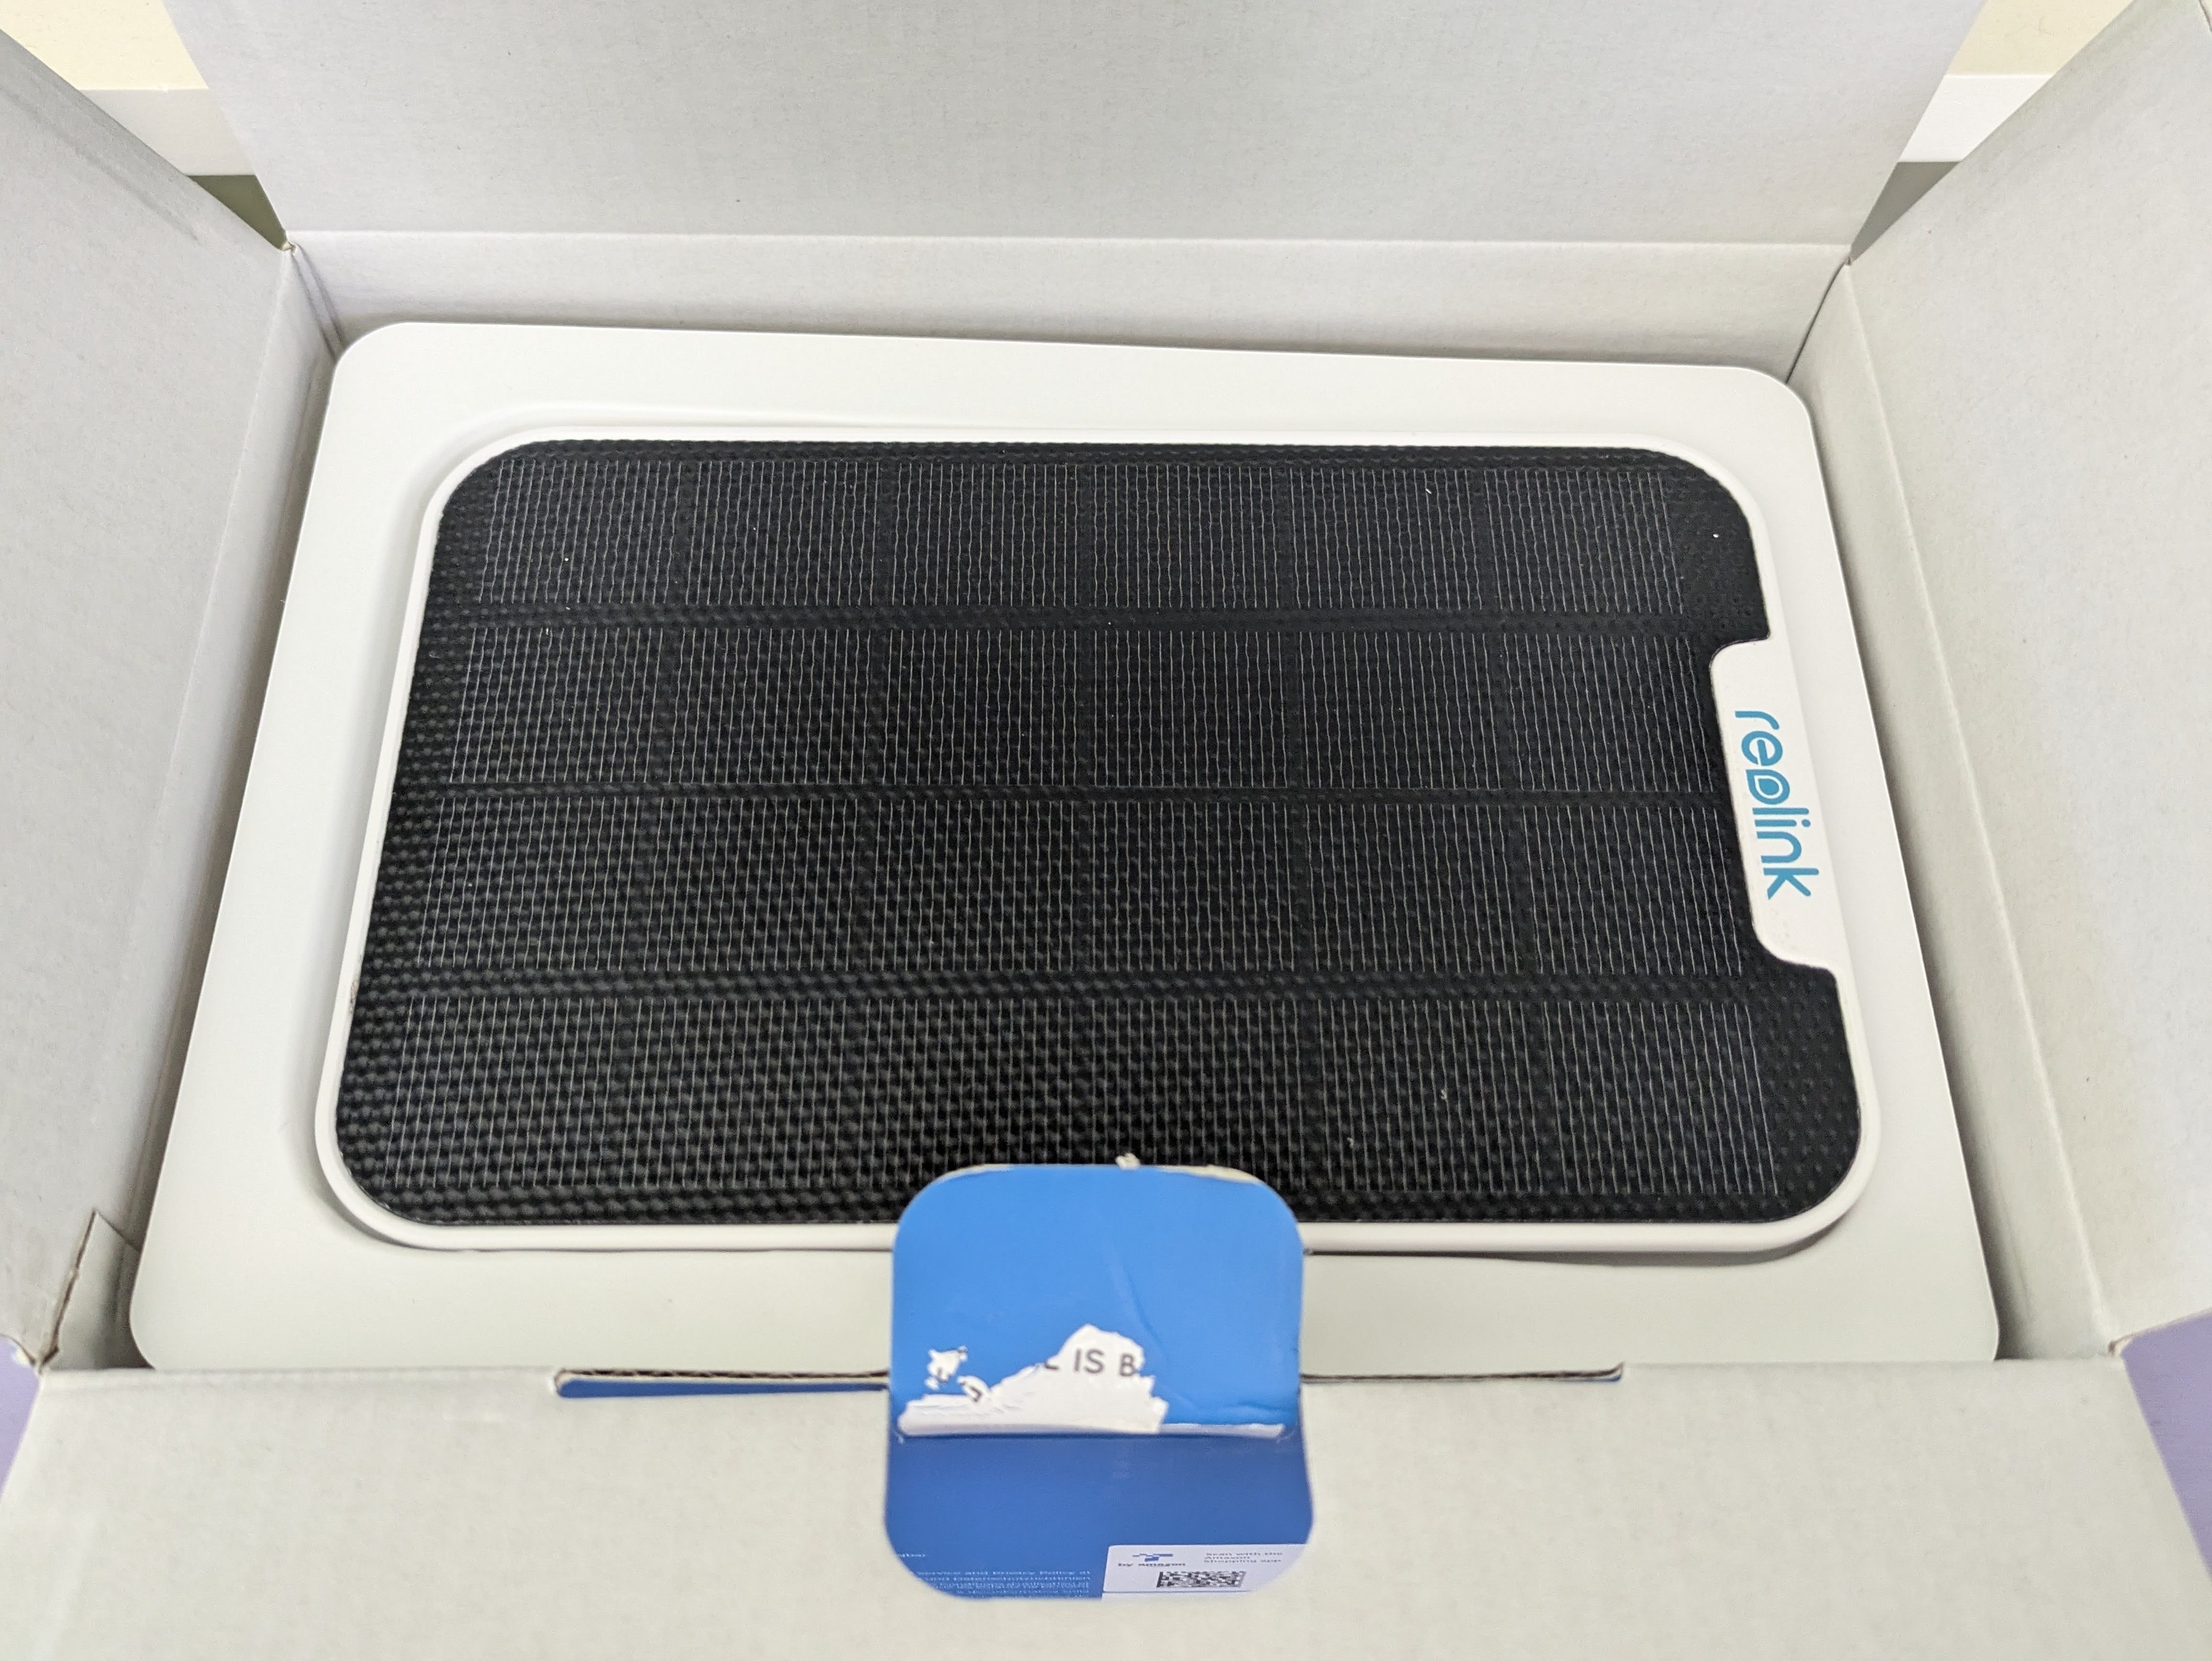
The camera and solar panel come in a security-sealed, Reolink-branded box. The seal is a nice touch - you can be sure it’s not tampered with if it’s intact. Mine is not intact, because I opened the box already. Sorry to disappoint.
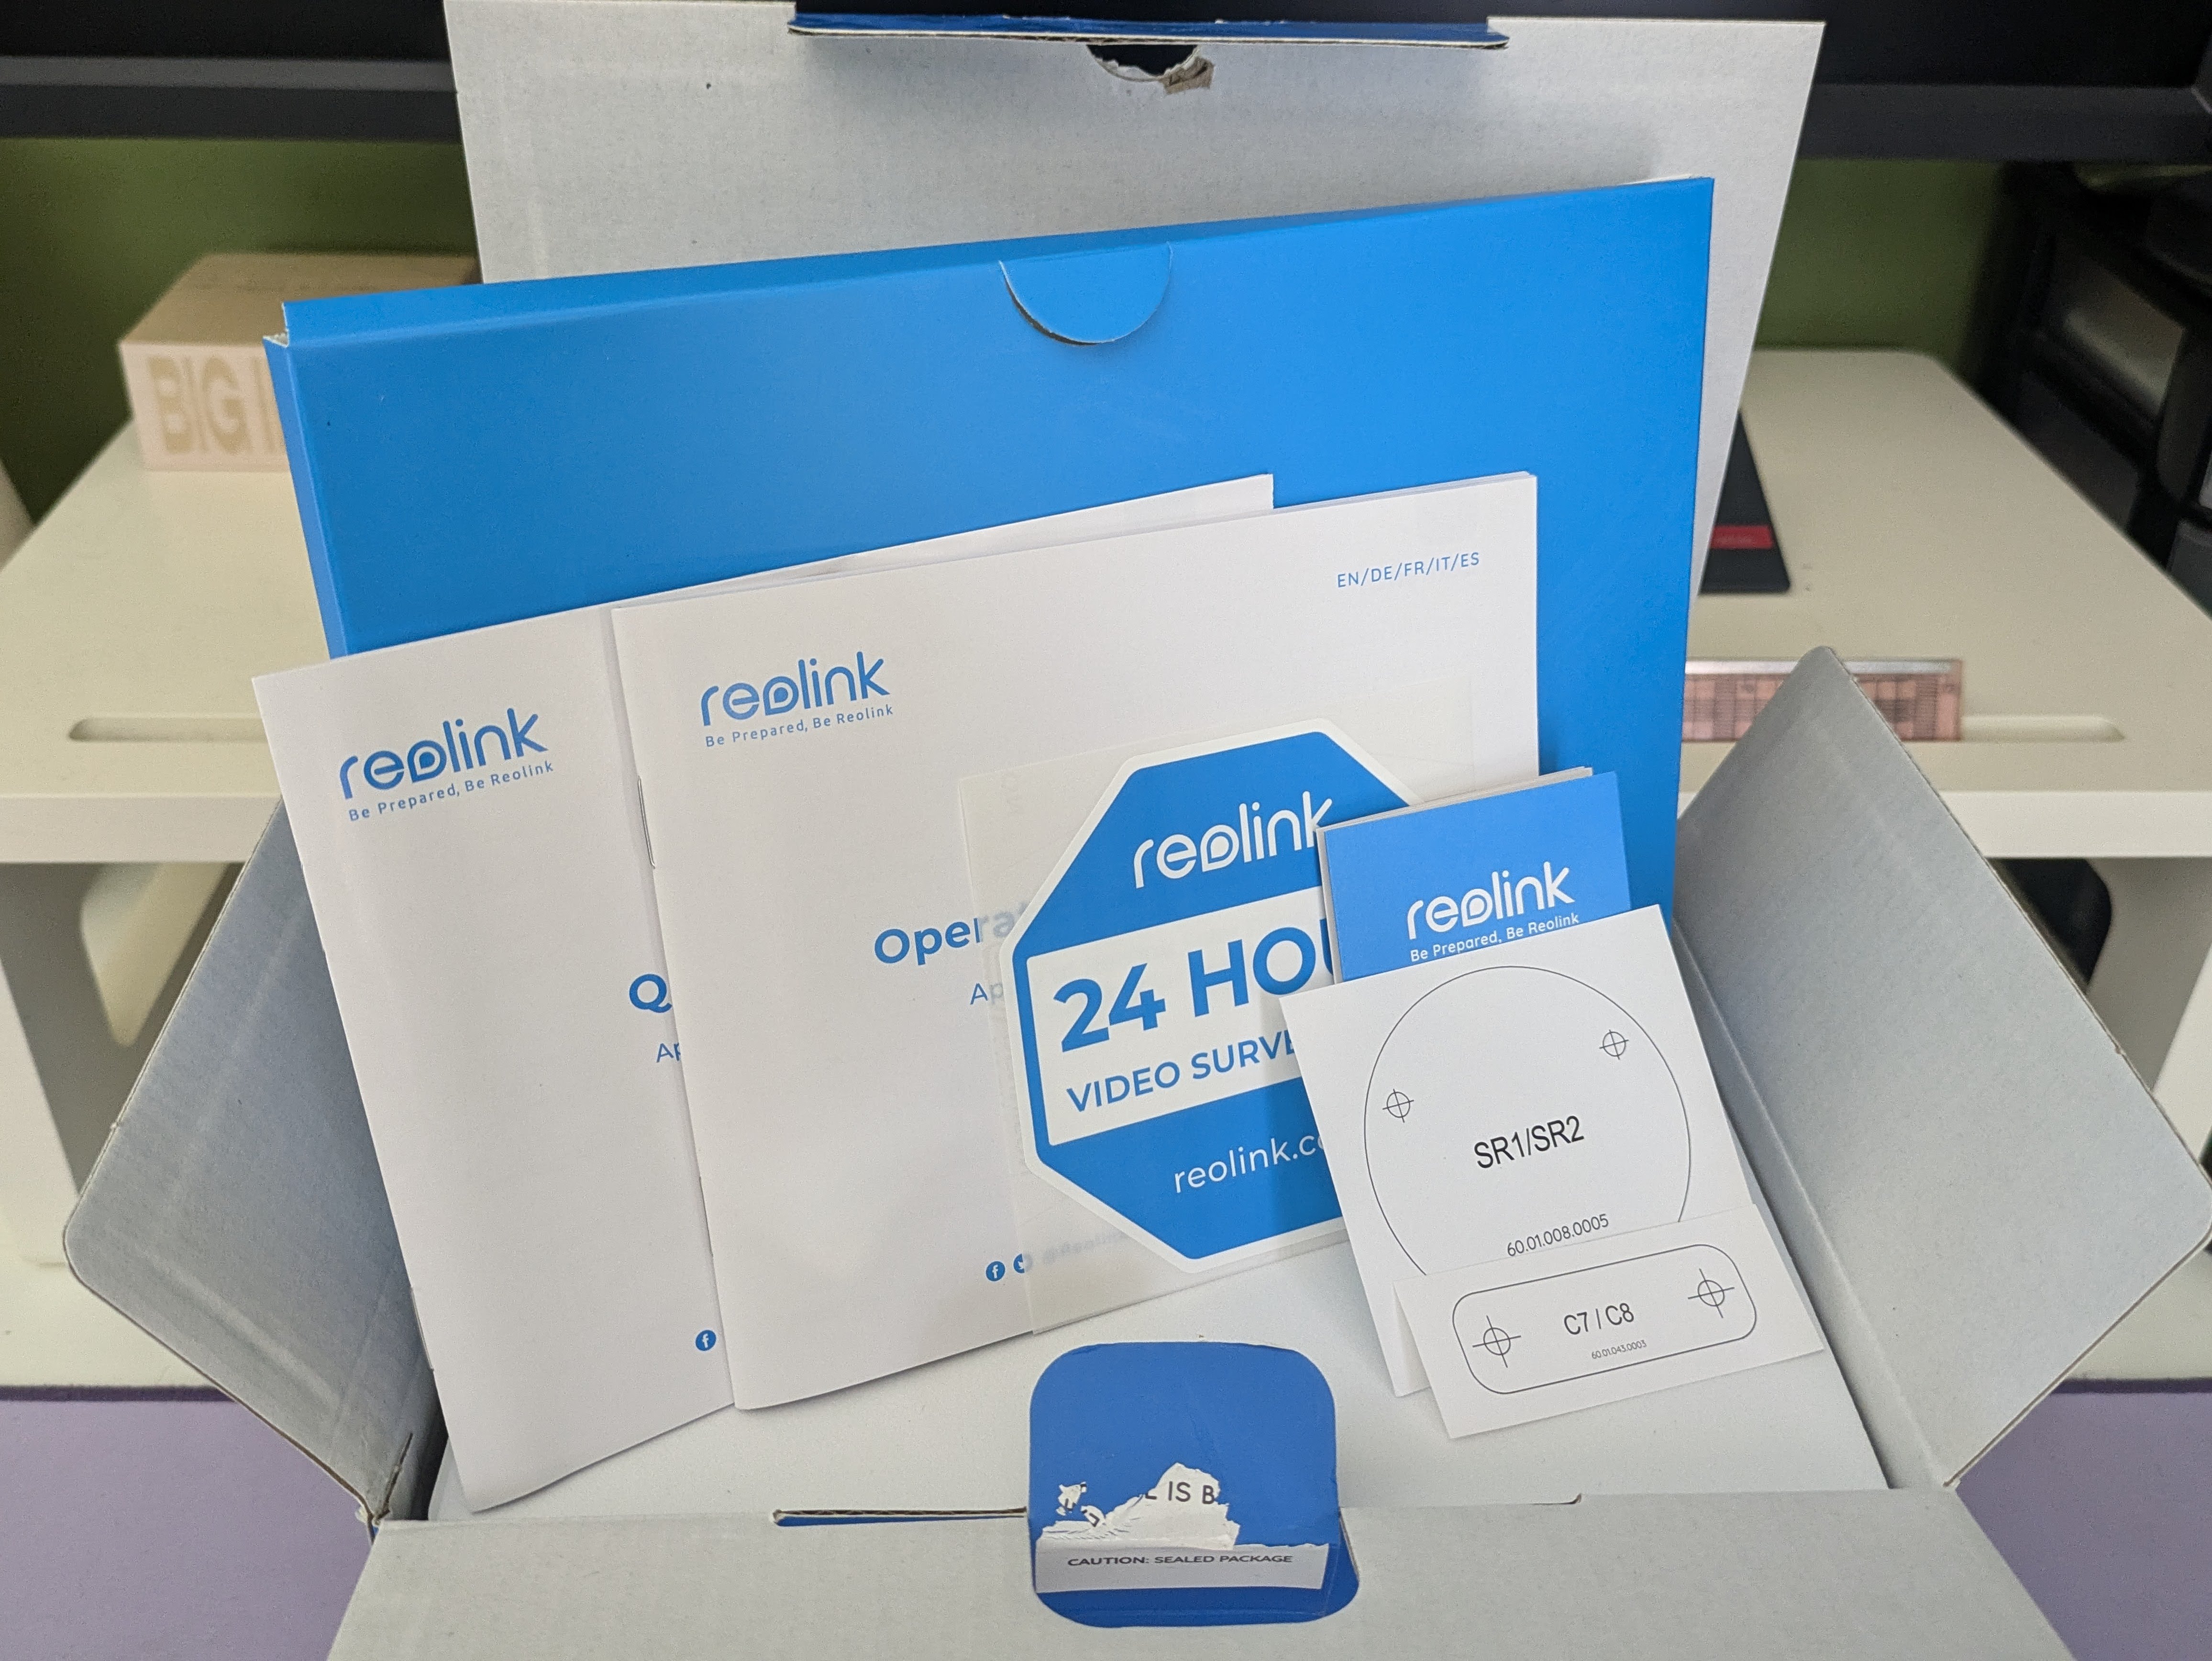
Once you pop open the box you’ll be greeted with a small cardboard package, containing the device user manual(s), a sticker, and some really helpful mounting templates (seen on the right of the below image). I don’t personally recommend using the sticker unless you’re using cameras as a deterrent, because it could show off future vulnerabilities in your choice of vendor, and more importantly, it’s kind of ugly. However, I will be getting a sticker that tells people to smile for the camera(s)!
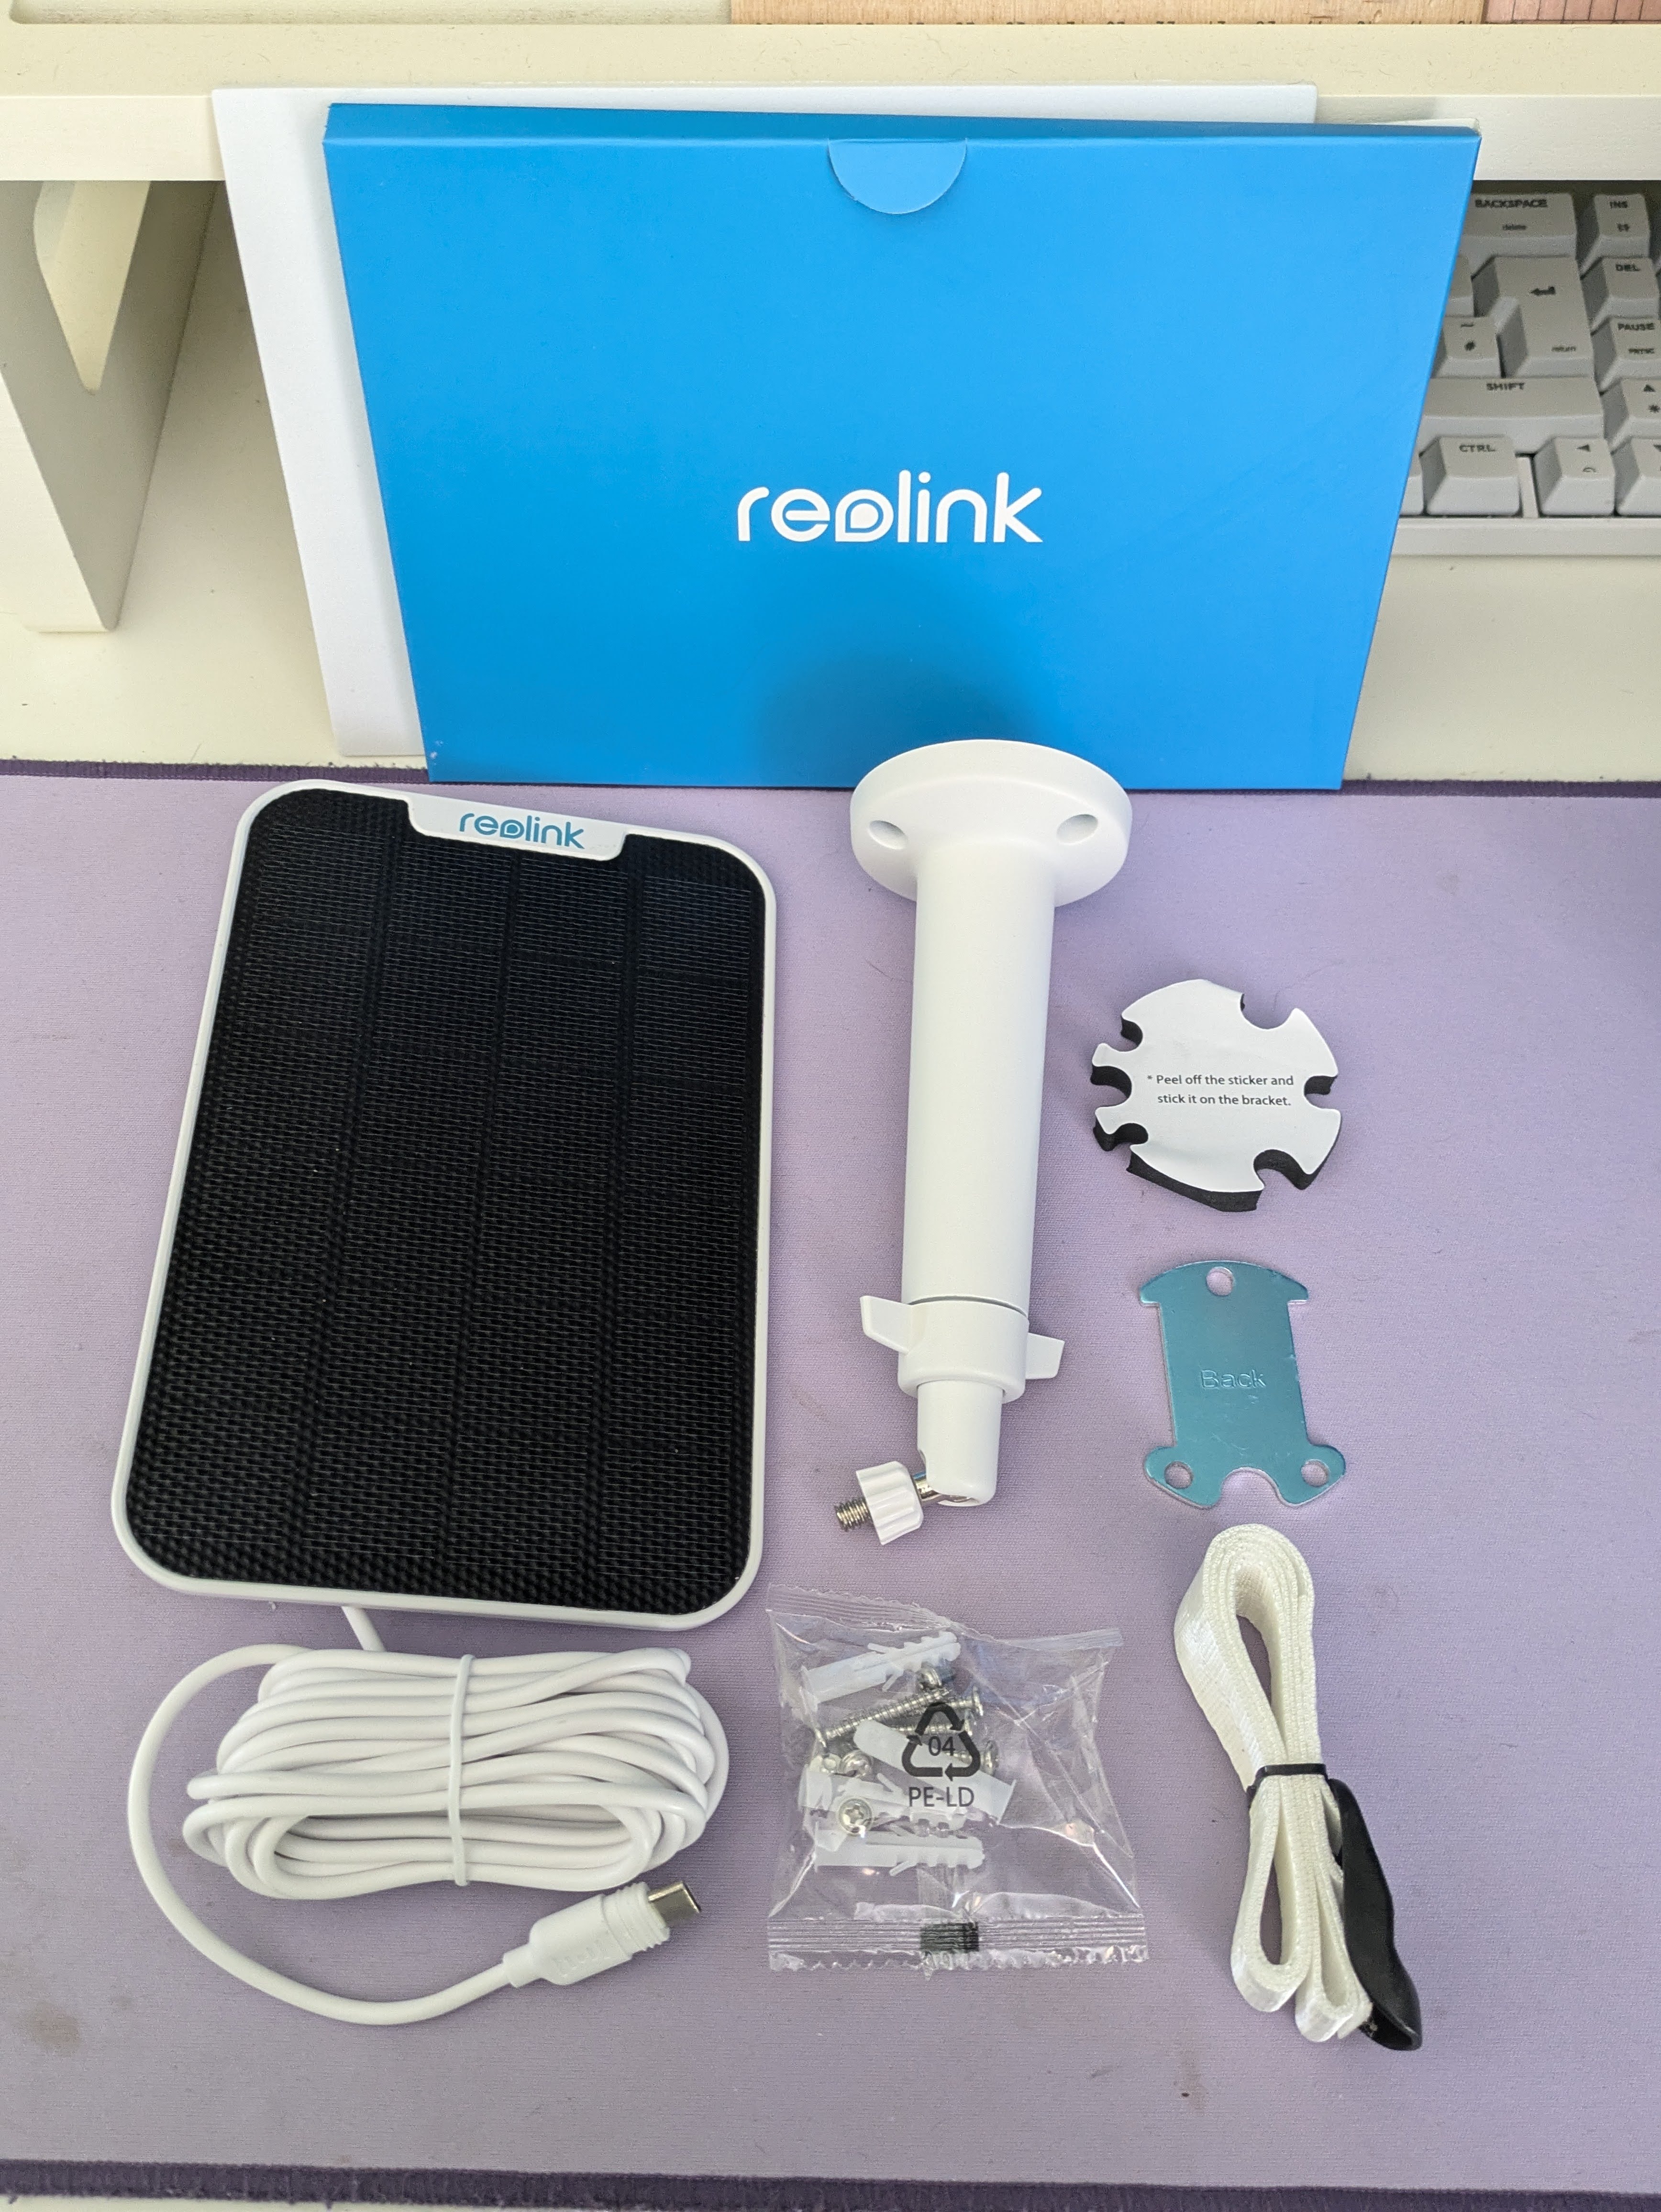
Underneath this, you’ll find the solar panel. It’s a very thin one, and doesn’t weigh much - in fact, the (long) non-removable cable might weigh more than the panel itself, but I’m not going to verify that.
The solar panel also comes with a few bits and pieces for mounting, including the pole you’ll need to actually stick it somewhere, as well as screws (with extras, which is a nice touch), a couple bracket pieces, and a strap.
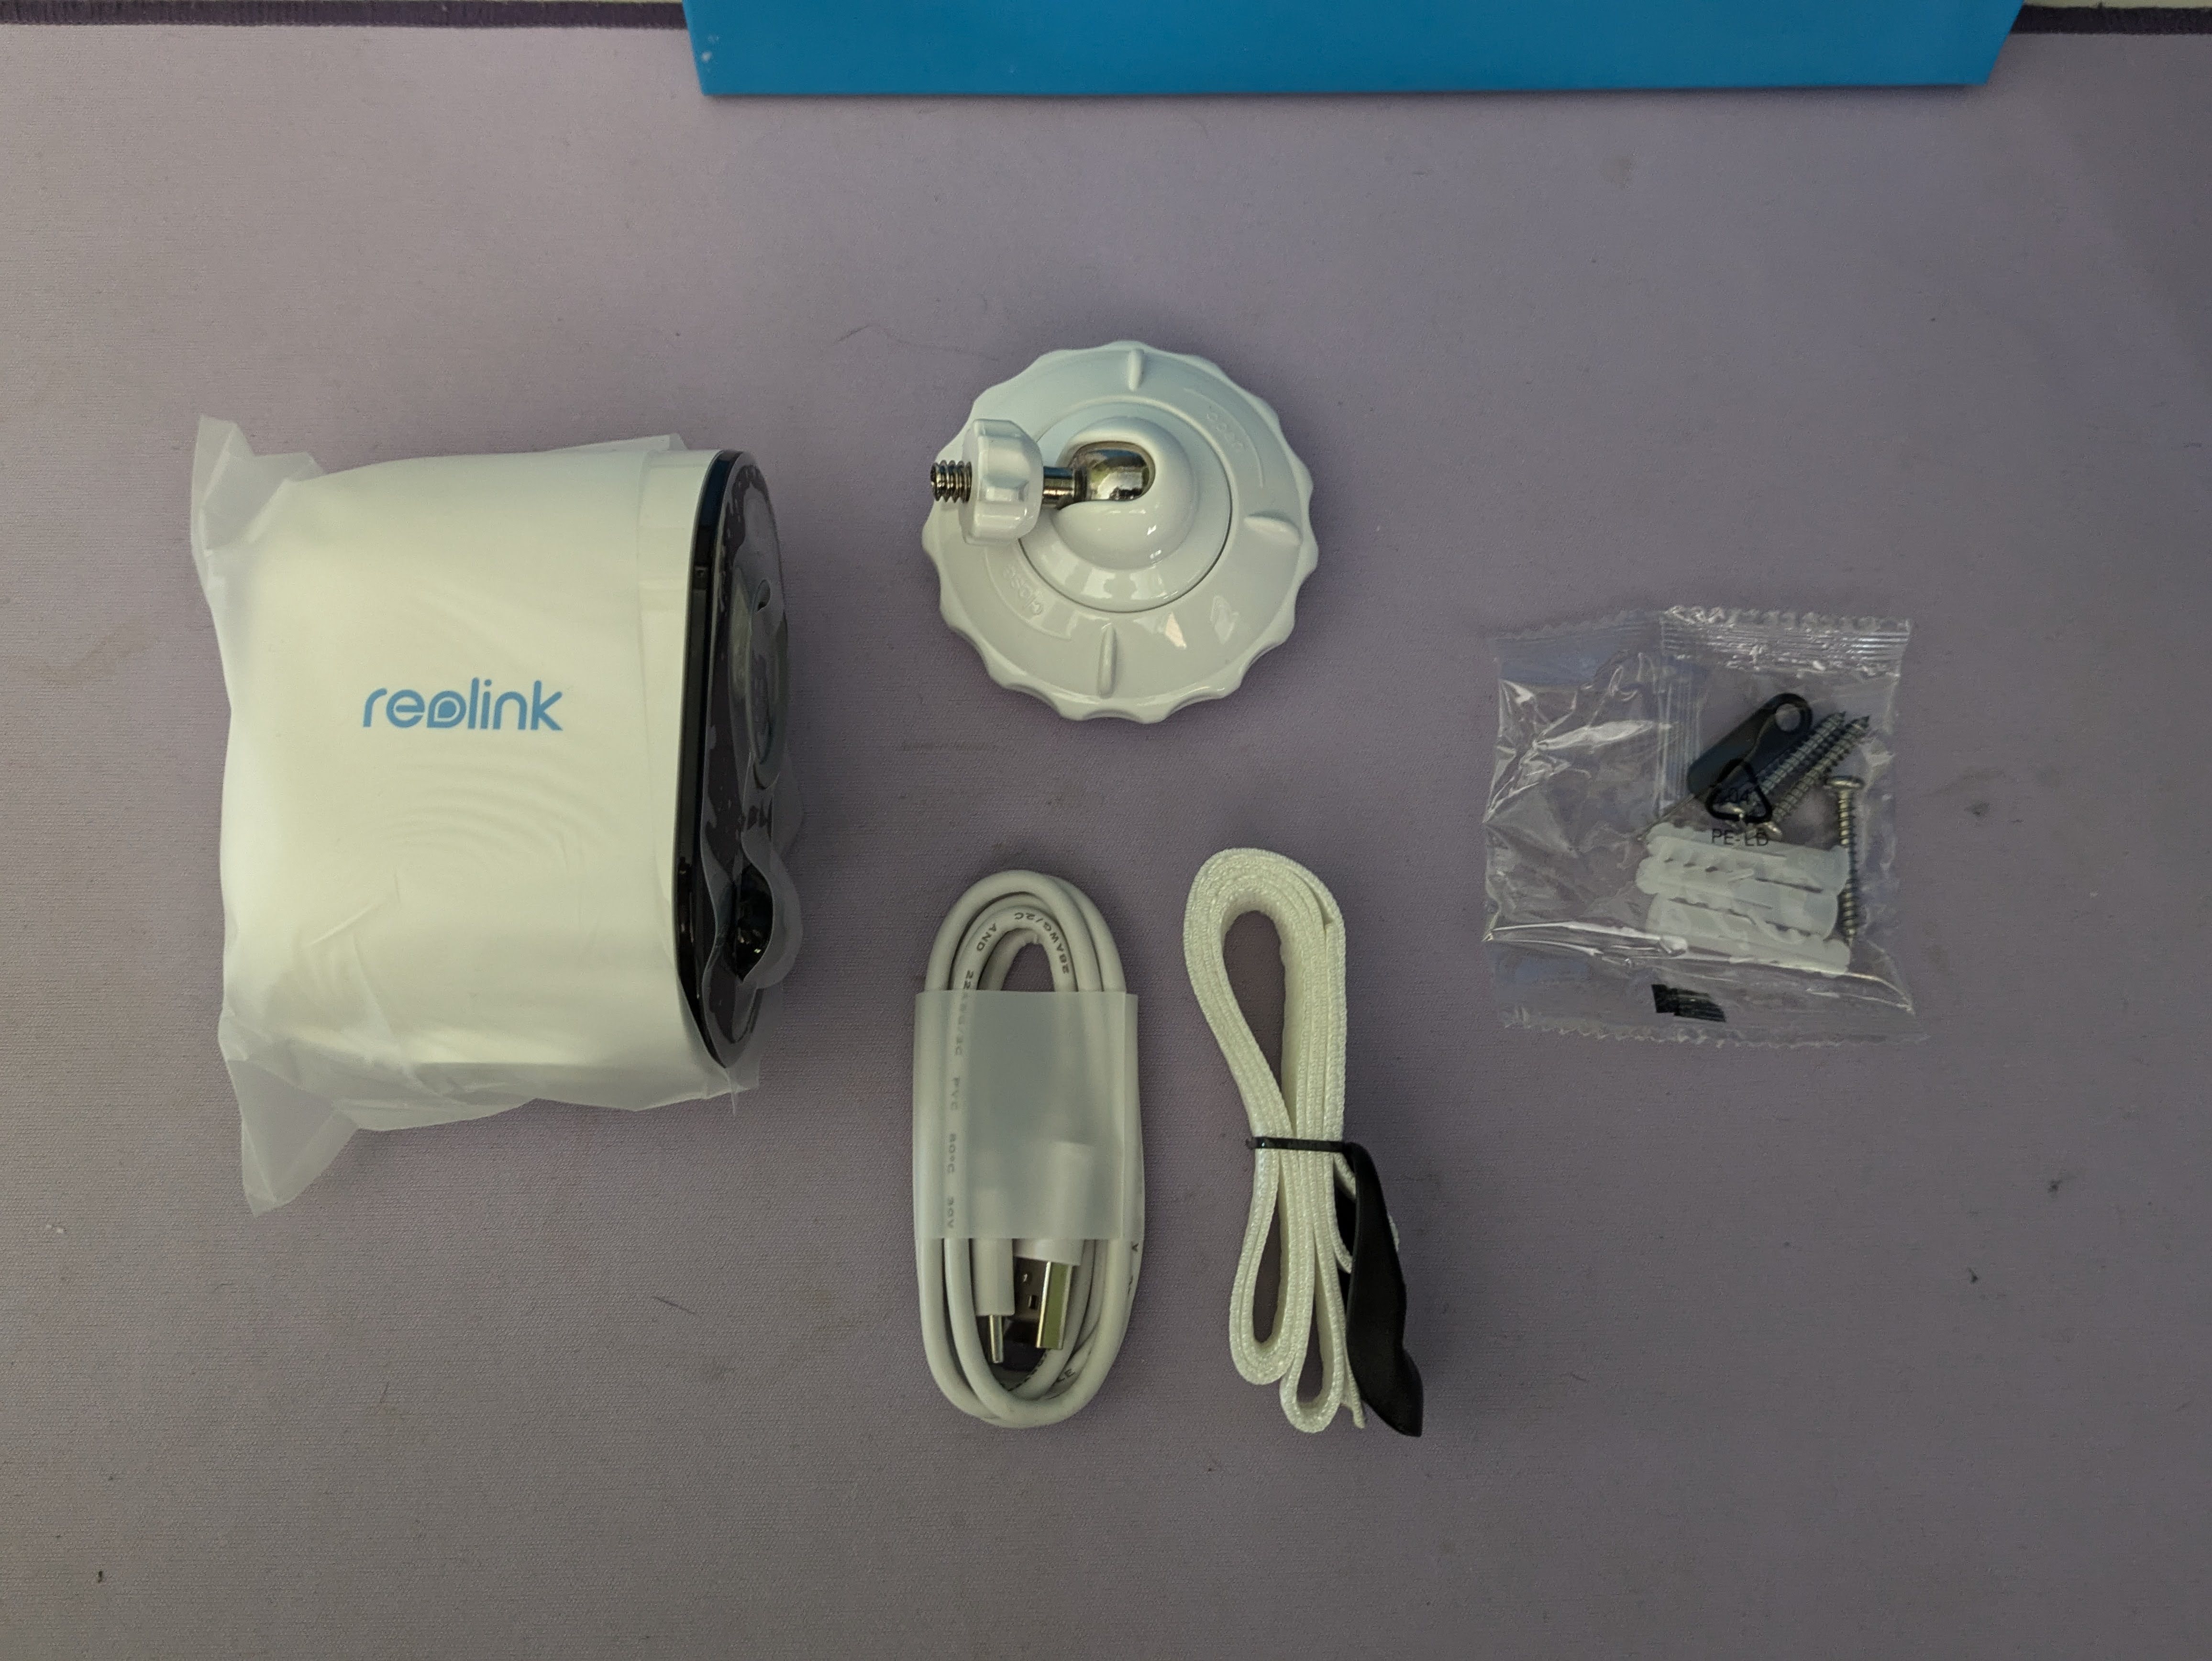
Underneath the solar panel insert is where you’ll find the camera, and its accessories. It’s a very nice looking device, with a pretty simple mounting mechanism:
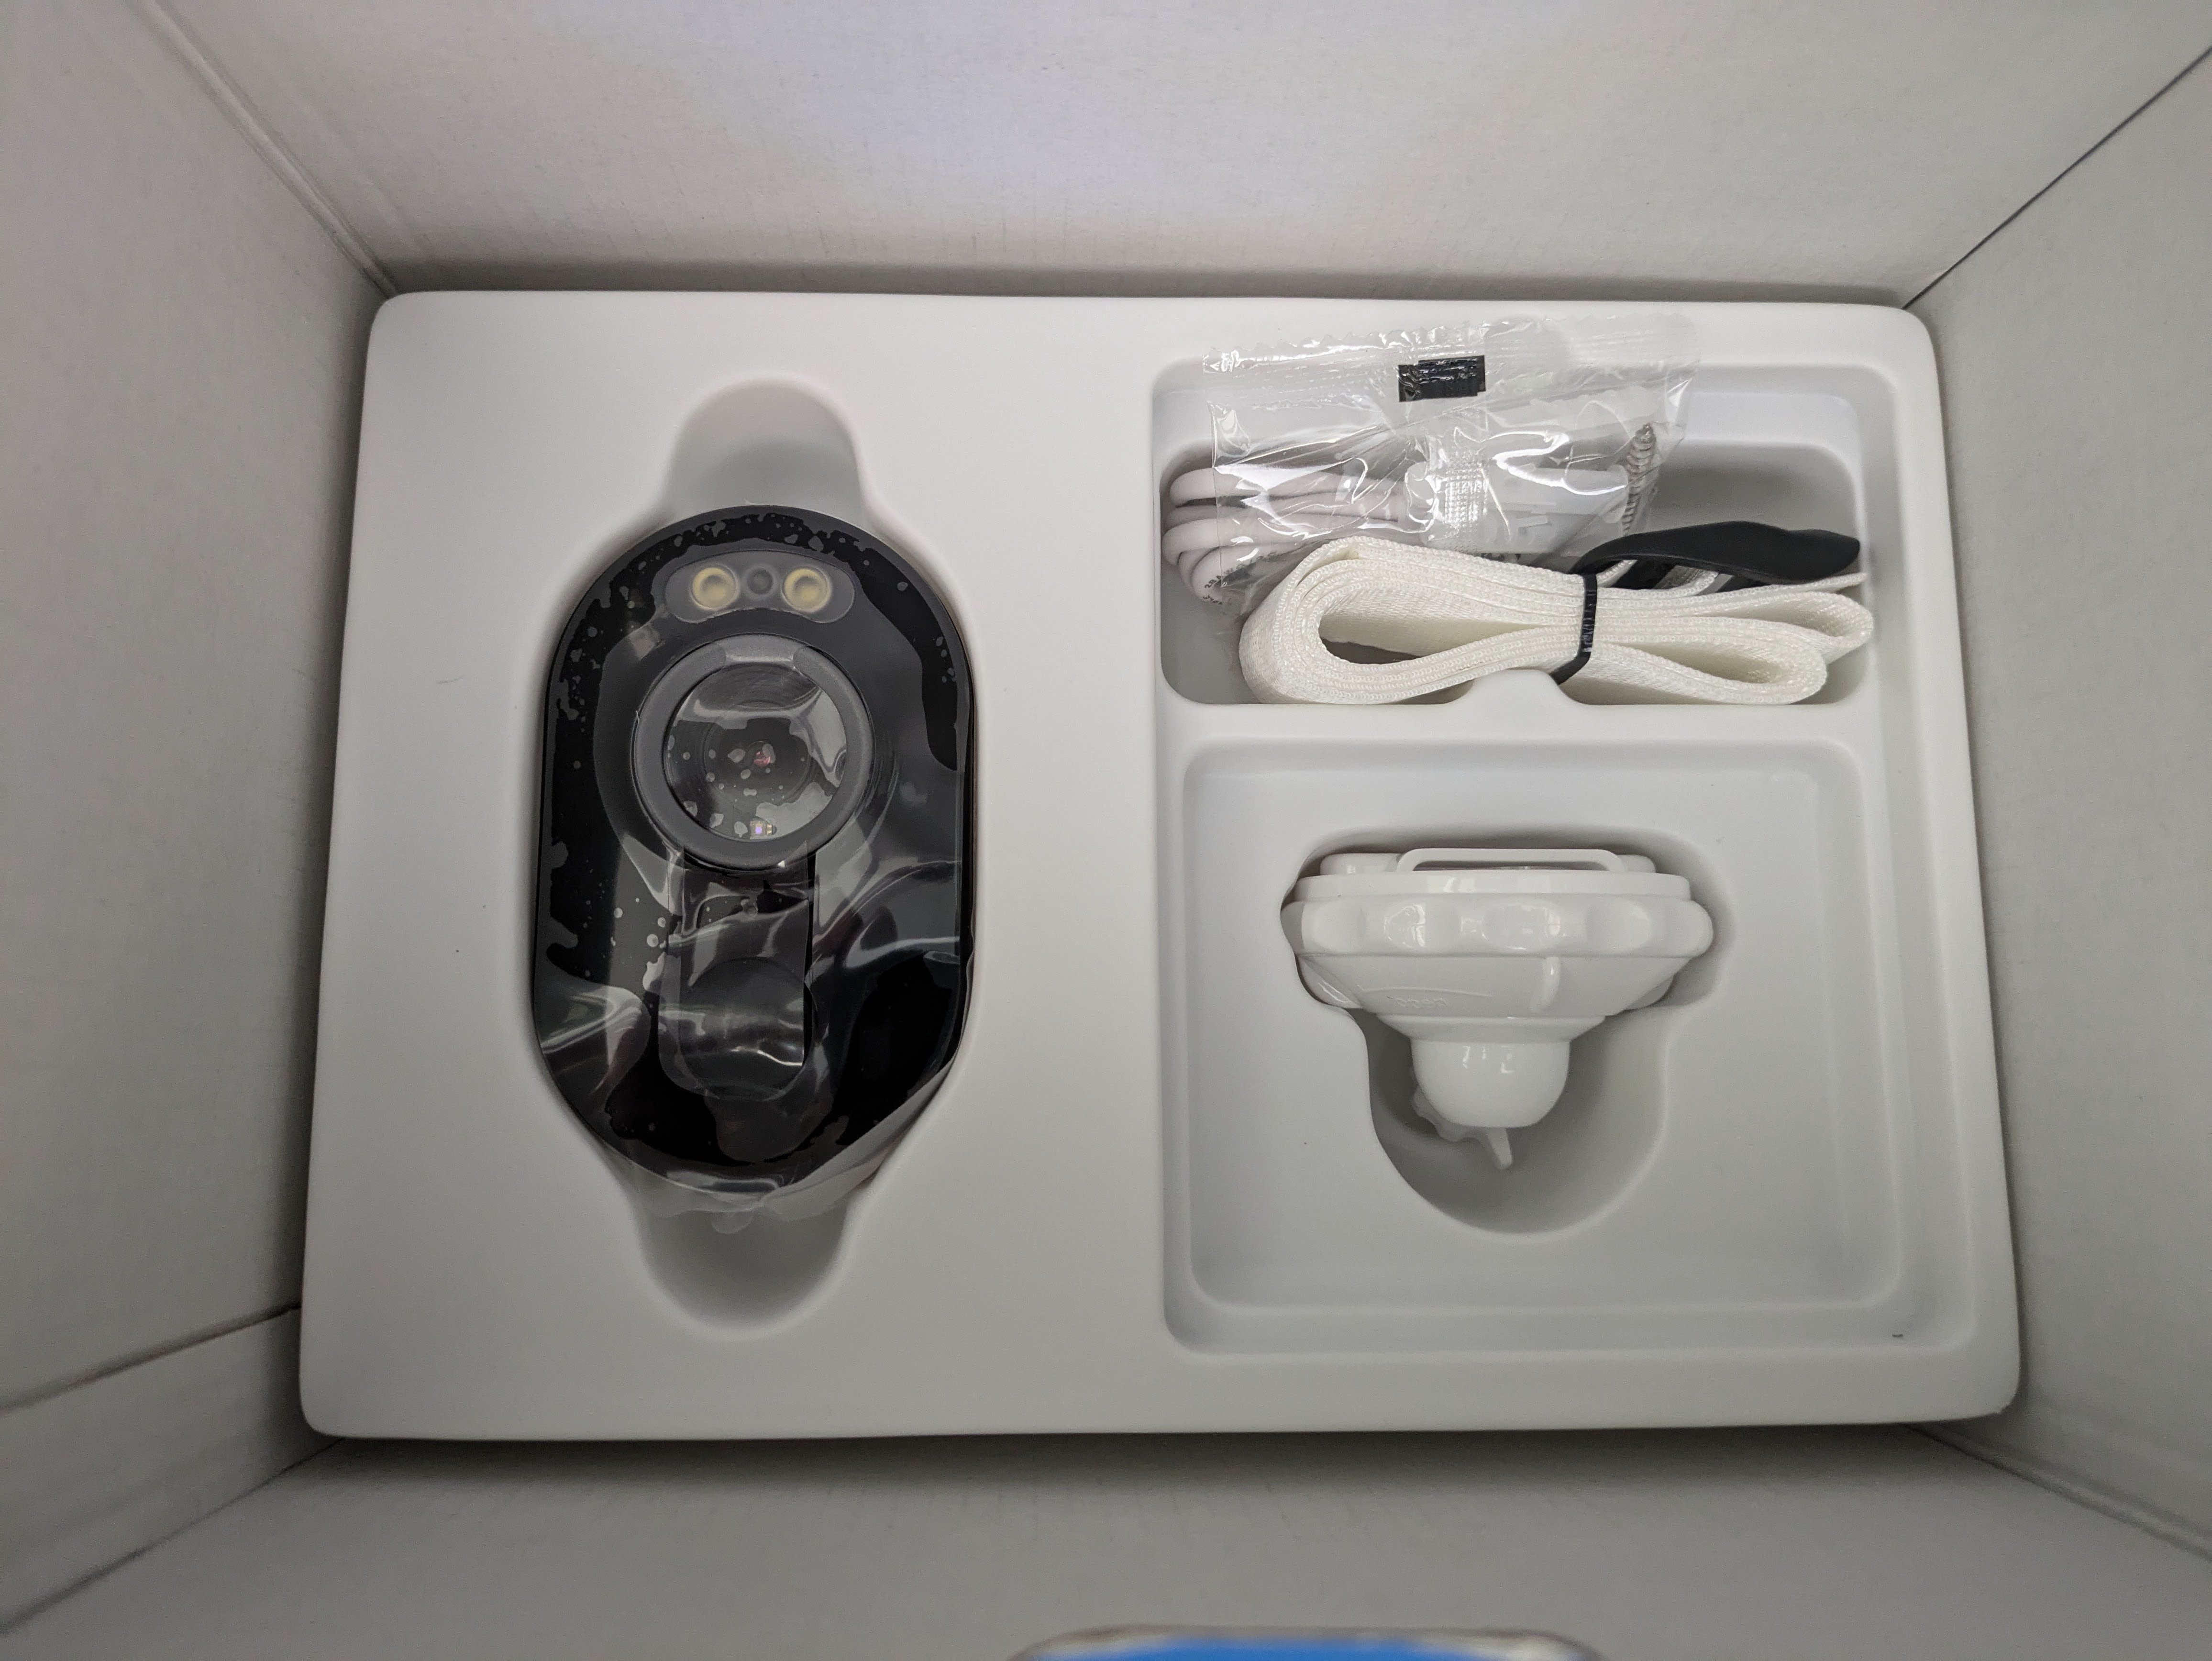
Reviews that I saw online stated that the camera uses a magnetic mount. This doesn’t seem to be the case for my model, but that could be because mine was packaged with the solar panel in a set. I imagine that Reolink thought a solar install was more permanent, and therefore people didn’t need to easily remove the camera for recharging. I’m not going to buy another device to verify this, so YMMV.
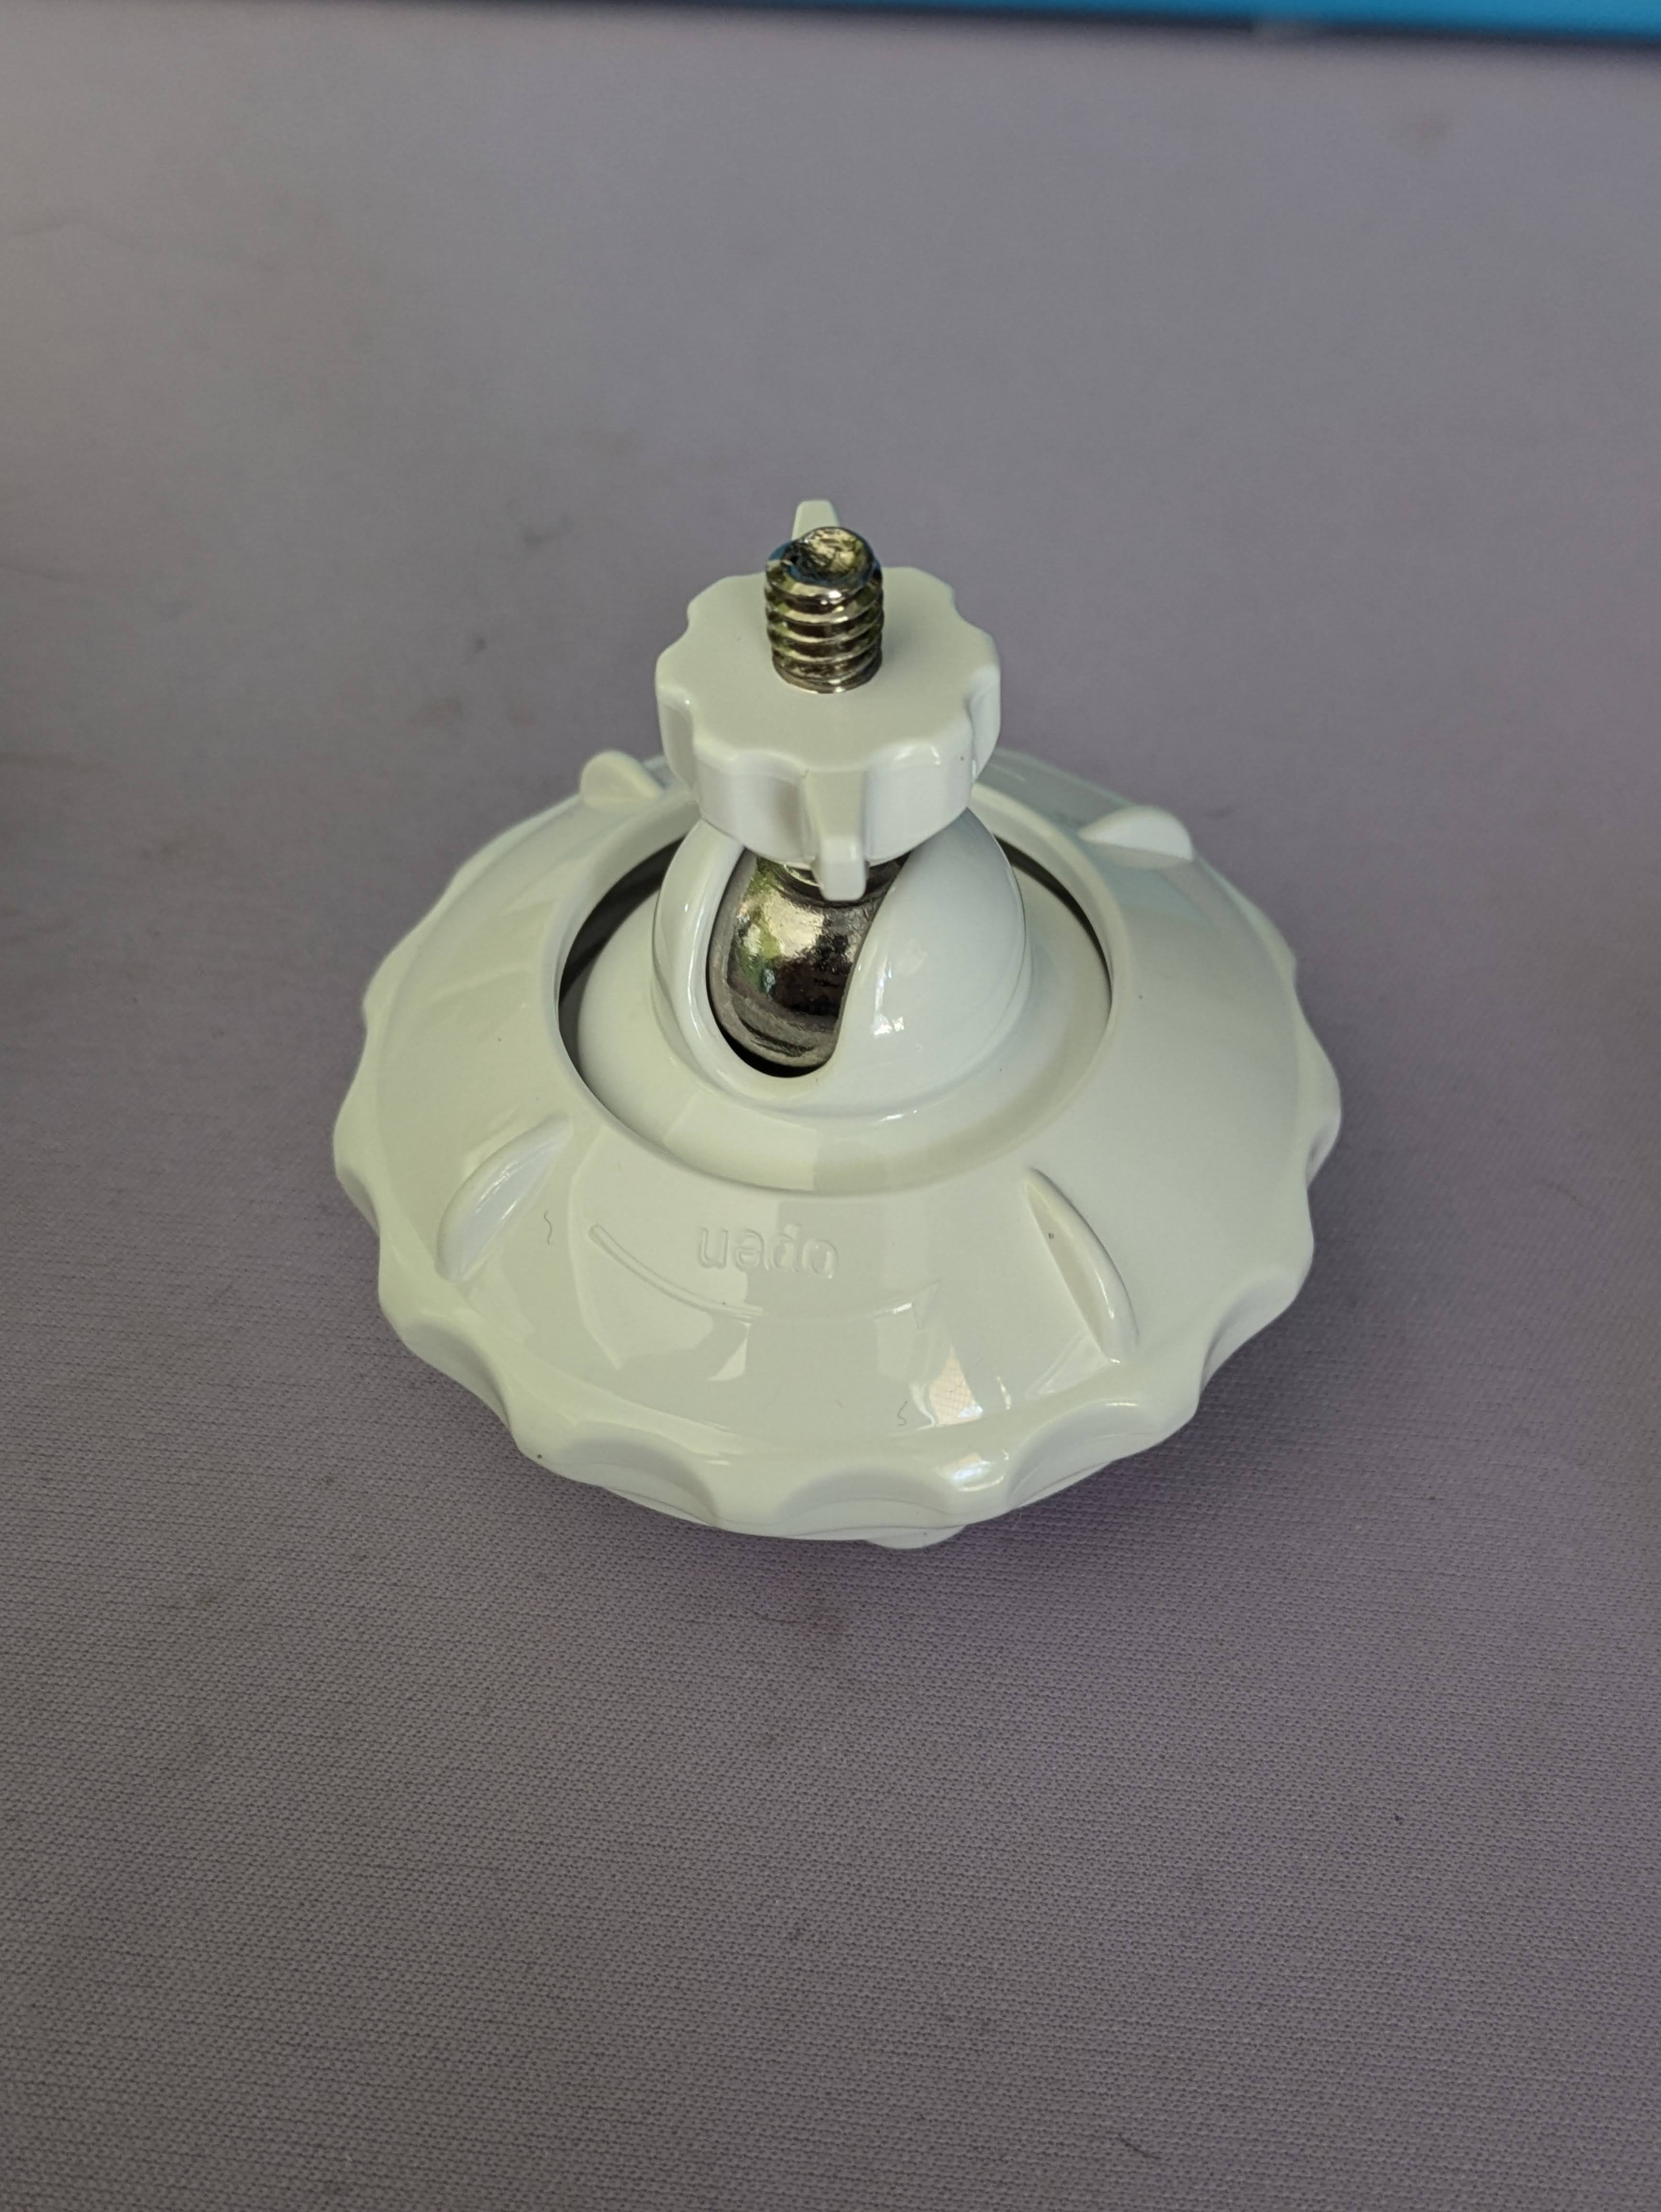
The mount that’s included is a screw mount - the same one that the solar panel uses. It’s actually a regular 1/4in camera tripod screw, so if you want to put your camera on a camera tripod (for whatever reason), you’re actually able to do that. Who would’ve thought?
Setting It Up
I would go through the setup here but it was honestly so simple that I don’t think I need to. All you do is download the Reolink app, hit the plus button in the corner, and it’ll give you the (simple) steps to get it configured. It took me three minutes, and that included a firmware update!
Short Two-Week Review
I’ve had the camera set up for a couple weeks now. Even when I’d only had it running for a few hours, I was impressed, but now I’m super pleased with my purchase.
I was happy with the wired cameras I’ve owned from Reolink previously, and this one is no different. The camera itself actually looks fantastic - I really like the look of it, and it feels like a very solid unit. Even the solar panel feels quite sturdy, though it’s so thin!
The daytime image quality has been fantastic (make sure you’re set to “high”, not “fluent”, in the app for optimal quality), setup was straightforward, it stays connected to the WiFi well, and the two-way audio feature is pretty fun! The chickens were confused when we started talking to them from the bedroom. Not its intended use, I imagine…
I’ve also used it quite a lot at night time. The black-and-white night vision with IR lighting is actually surprisingly good quality, and you can see quite far with it. The colour vision is pretty good too, though it has nowhere near the same distance - you can see only a few metres ahead in colour.
Another feature of this camera that I sort of forgot about was the animal/person detection. It’s alright - I would personally prefer to set up Frigate but I don’t currently have a home server (that’s coming soon, though), so I’ve gotta deal with what I’ve got. The camera quite reliably detects the chickens’ movements, as well as people coming in and leaving its view (even if it can only see their legs), and even the cars when we park up in the corner of the view! I haven’t got notifications turned on, but the app does show a lot of recorded footage throughout the day, and not a single false-positive yet. The only issue I have with the animal detection is that it doesn’t seem to pick up any snake movement at night - at all. It’s a bit of a shame, but I imagine there’d be a lot of false-positive events if it were that sensitive.
Anyway, it has been more than good enough to keep an eye on the chickens, and I’m tempted to buy a second one to see out onto the fields behind our house.
Conclusion
So there we have it. A blog post talking about unboxing a wireless security camera. Riveting!
I’ve got posts about the rest of my home network setup to come, as well as a couple additional cameras I’ve purchased for the rest of the house. Stay tuned!